Both Jan.and Feb. are good months to introduce
Pop Art to your students.
Click on
POP Art to learn more about this art period.
*******************************************************************************
************************************************************************************
I have tried many different Pop Art projects over the years and finally decided to do a different Pop Art project in each section of my 5th grades. That way when the art show comes in the Spring, I have quite a variety of Pop Art projects to display. I do introduce all my classes to at least 6 different Pop artists. Each class then concentrates on a specific one.
*******************************************************************************
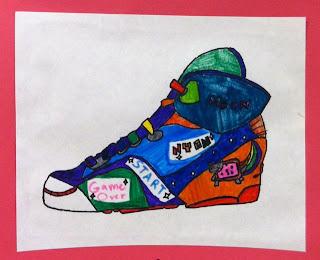
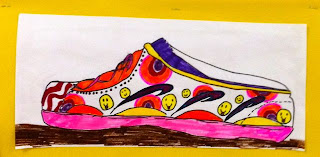
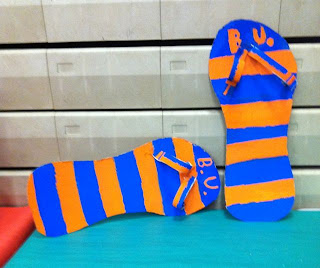
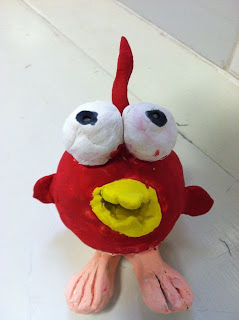
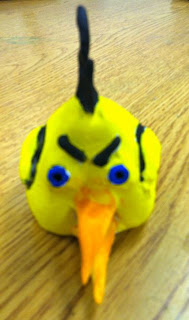
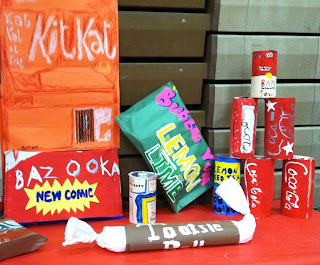
Claes Oldenberg - Angry Birds and large pieces of food
*******************************************************************************
Click on
Claes Oldenberg to learn more about him.
*******************************************************************************
Andy Warhol and
Roy Lichtenstein - technology
*******************************************************************************
This is where I like to introduce technology. We use Photobooth and a website to create our POP Art projects in the style of Andy Warhol. Click on
Andy Warhol to learn more about this very famous POP artist. We also use Photobooth to create a "Roy Lichtenstein" comic composition. Want to know more about this artist? Click on
Roy Lichtenstein now.
*******************************************************************************
*******************************************************************************
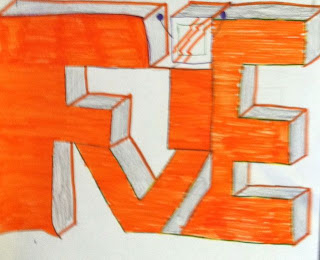
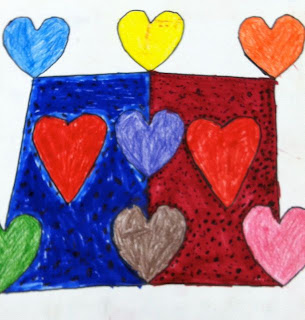
Robert Indiana - Valentine's Day works right into the project
*******************************************************************************
There are so many projects to consider just using a heart shape!
For more information click on
Robert Indiana.
********************************************************************************
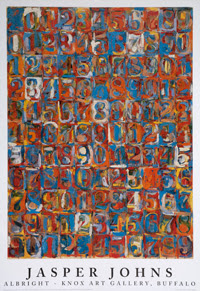
Jasper Johns - Who doesn't like the flag?
********************************************************************************
Targets, Flags and Numbers are great inspirations!

********************************************************************************
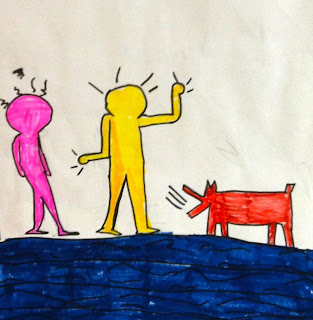
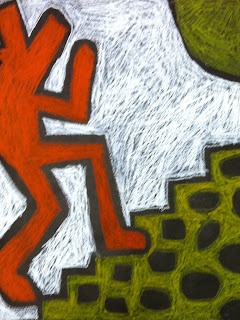
Keith Haring - My students really related to his shapes
********************************************************************************
Click on
Keith Haring to learn more about his life and his art work.
********************************************************************************
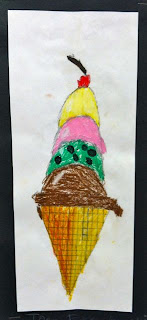
Wayne Thiebaud - Desserts
********************************************************************************

My students loved creating a dessert of their choice. If you want to learn more about
Wayne Thiebaud just click on his name.
After reading about these Pop artists, which two were from Pennsylvania?


 ************************************************************************************
I have tried many different Pop Art projects over the years and finally decided to do a different Pop Art project in each section of my 5th grades. That way when the art show comes in the Spring, I have quite a variety of Pop Art projects to display. I do introduce all my classes to at least 6 different Pop artists. Each class then concentrates on a specific one.
************************************************************************************
I have tried many different Pop Art projects over the years and finally decided to do a different Pop Art project in each section of my 5th grades. That way when the art show comes in the Spring, I have quite a variety of Pop Art projects to display. I do introduce all my classes to at least 6 different Pop artists. Each class then concentrates on a specific one.
 *******************************************************************************
Claes Oldenberg - Angry Birds and large pieces of food
*******************************************************************************
*******************************************************************************
Claes Oldenberg - Angry Birds and large pieces of food
*******************************************************************************


 Click on Claes Oldenberg to learn more about him.
*******************************************************************************
Andy Warhol and Roy Lichtenstein - technology
*******************************************************************************
This is where I like to introduce technology. We use Photobooth and a website to create our POP Art projects in the style of Andy Warhol. Click on Andy Warhol to learn more about this very famous POP artist. We also use Photobooth to create a "Roy Lichtenstein" comic composition. Want to know more about this artist? Click on Roy Lichtenstein now.
*******************************************************************************
Click on Claes Oldenberg to learn more about him.
*******************************************************************************
Andy Warhol and Roy Lichtenstein - technology
*******************************************************************************
This is where I like to introduce technology. We use Photobooth and a website to create our POP Art projects in the style of Andy Warhol. Click on Andy Warhol to learn more about this very famous POP artist. We also use Photobooth to create a "Roy Lichtenstein" comic composition. Want to know more about this artist? Click on Roy Lichtenstein now.
*******************************************************************************

 *******************************************************************************
Robert Indiana - Valentine's Day works right into the project
*******************************************************************************
There are so many projects to consider just using a heart shape!
*******************************************************************************
Robert Indiana - Valentine's Day works right into the project
*******************************************************************************
There are so many projects to consider just using a heart shape!

 For more information click on Robert Indiana.
********************************************************************************
Jasper Johns - Who doesn't like the flag?
********************************************************************************
Targets, Flags and Numbers are great inspirations!
For more information click on Robert Indiana.
********************************************************************************
Jasper Johns - Who doesn't like the flag?
********************************************************************************
Targets, Flags and Numbers are great inspirations!
 ********************************************************************************
Keith Haring - My students really related to his shapes
********************************************************************************
********************************************************************************
Keith Haring - My students really related to his shapes
********************************************************************************

 Click on Keith Haring to learn more about his life and his art work.
********************************************************************************
Wayne Thiebaud - Desserts
********************************************************************************
Click on Keith Haring to learn more about his life and his art work.
********************************************************************************
Wayne Thiebaud - Desserts
********************************************************************************

 My students loved creating a dessert of their choice. If you want to learn more about Wayne Thiebaud just click on his name.
After reading about these Pop artists, which two were from Pennsylvania?
My students loved creating a dessert of their choice. If you want to learn more about Wayne Thiebaud just click on his name.
After reading about these Pop artists, which two were from Pennsylvania?